
Please note:
To unlock this capability, you will need to have added Webpage Pop-Ups to your Optimove package. If you can’t see this feature in your Optimove instance, contact your CSM to find out more.
Displaying a personalized and timely webpage pop-up to a customer is a very effective way to influence customer behavior.
The following steps describe how to prepare webpage pop-up templates in Optimove using the HTML editor, to trigger these in real-time on your site:
- In the Optimove UI, select Templates from the Plan menu
- Under Channel, select Webpage Pop-up.
- Select an existing folder or create a new folder by clicking the three dots, and selecting New Folder.
- To create a new Webpage Pop-up, click Create New in the top right corner of the page.
- Then, select the HTML Editor from the available options.
- To import an HTML or ZIP file that contains your template and images, click on Import when the template editor opens, and import the relevant file.
Important notes:- For HTML files that have accompanying image files, you must prepare a ZIP file in the following format:
- A single HTML file in the root of the ZIP file (any filename is acceptable, but it should have the .html suffix)
- A single folder in the root of the ZIP file named “images” includes all image files referenced by the HTML file (any number of images may be included)
- The ZIP file can be named whatever you like.
- The ZIP file may not exceed 5MB in size.
- Every IMG tag in the HTML file that references an image being ZIPped with the HTML file must use the relative SRC path of “images/” (example: <img src=”images/logo.png”>).
- Embedded or referenced images may not exceed 5MB in size.
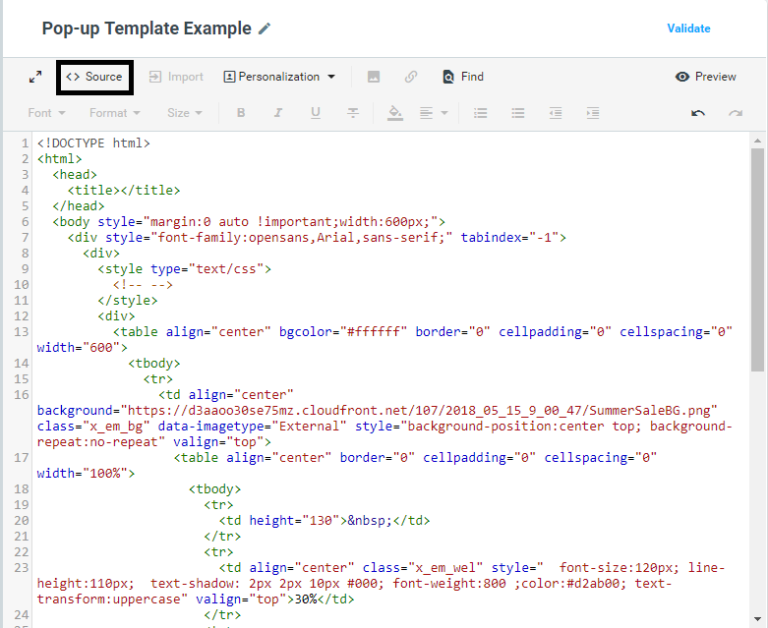
- To paste existing HTML/CSS/JavaScript code directly into the editor, follow these steps:
- Switch to Source view.
-
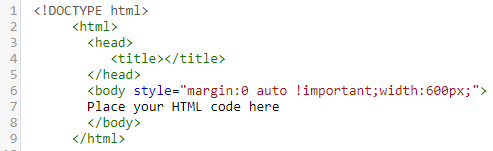
- Remove the default HTML code that appears between the <body> … </body> tags and replace it with your code instead.
-
- You can add personalization tags to your template using the Personalization dropdown.
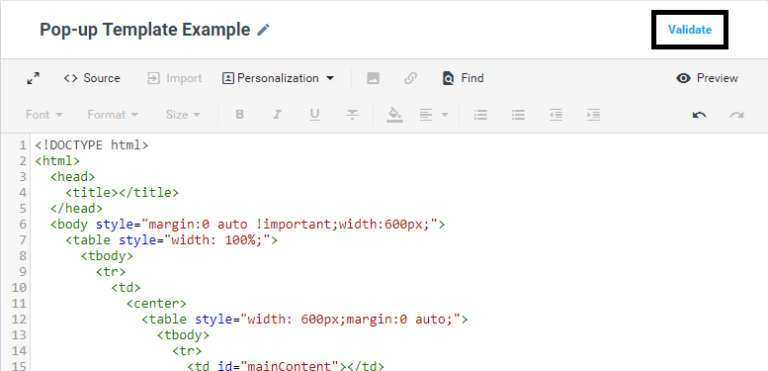
- Click Validate to make sure that all personalization and unsubscribe tags are valid.
-
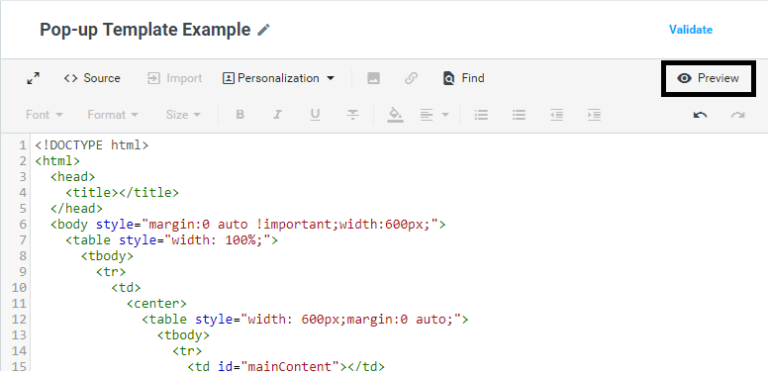
- There are two ways to visually preview a pop-up template in the web browser:
- If all required HTML, CSS, and JavaScript code is located within the template itself, simply click Preview.
- There are two ways to visually preview a pop-up template in the web browser:
-
- When you’re done, click Save.
Frequently Asked Questions
Whenever I save a pop-up template, I can see that head and body tags are added. Why is that?
You should include head and body tags as part of the pop-up HTML. If you do not include them, they will be added when you save your template. However, when the pop-up is implemented on your site, that code is removed.
I can see that the CSS, JS, and HTML are not minified. Why is that?
We do not minify CSS, JS, and HTML since pop-ups should contain a small amount of code that should not affect the site's performance.
Are conditional clauses supported?
Not at the moment. If you add conditional clauses as Personalization tags, you will receive an error when validating the template, preventing its use in campaigns. For questions about feature support for webpage pop-ups, please contact your CSM.