
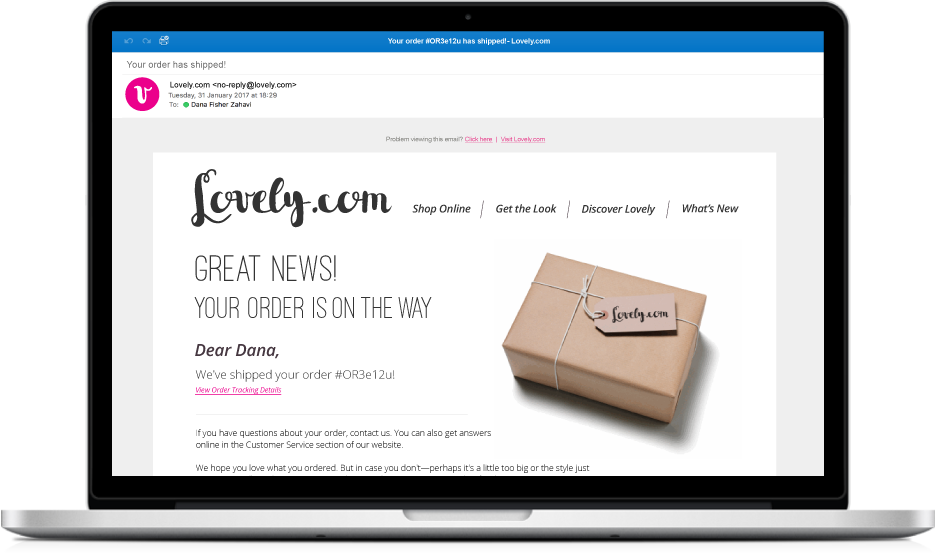
Setting Up Transactional Emails
Prior to integration and warm-up, it’s important to first identify your need for a transactional IP and account based on the messages you intend to send. Are you sending messages triggered based on a customer action? Is the action that’s triggering the send specific to a transaction or a customer-based process? Are you able to message both opted-in and opted-out users? If you can answer “yes” to these questions, consider the following steps for attributing and integrating your transactional account.
Step 1: Complete the account form
Make sure when completing your account request form in your Customer Portal, that you’ve properly filled out a separate form specific to creating a transactional account.
Step 2: Implement your transactional IP’s DNS records
As you did for your marketing account, you will need to implement the records provided to you for your transactional IP in your domain management platform by adding them to your DNS host before you can start triggering transactional messages from your account. This step is required for sender authentication. Once complete, simply confirm with either your CSM or Project Manager so we can validate the records and complete this step.
Step 3: Create an API Key and Connect to the Optimove API
To have your transactional campaigns in Optimove triggered by transactions and events initiated by your customers, your system must help trigger these events directly to Optimove. To do this, you will need to create a new API Key and connect to the Optimove Transactional Email API.
Step 4: Create or migrate your transactional templates


Step 5: Confirm daily anticipated send volumes
Should your daily transactional sending volumes exceed 5,000 at the kick-off of onboarding/migration, accommodations and planning may be required to throttle the migration of your transactional campaigns to allow for a safe and strategic approach to developing your IP’s reputation.
|| Important notes:
- Refer to the Optimove Developer Hub for detailed documentation of the Optimove API.
- Your CSM will provide you with credentials for accessing the Optimove API if you do not already have them.
- The TemplateID for each template can be found at the bottom of its Manage Templates page in the Optimove UI:

- Each SendMail call can contain one or more recipients (email addresses) and associated personalization tags.
- For each recipient, you can provide a set of personalization values using Tag/Value pairs. The Tag string must be identical to the personalization tag name string defined in the system by your CSM and must begin with the prefix ‘TRANS:’ (example: [%TRANS:CART_URL%]).
- You can provide the scheduled time (in UTC) for each SendMail call using the optional ScheduleTime parameter. If a scheduled time is not provided, the email will be sent out immediately.
Retrieving Metrics for Past Transactional Emails
You can use the Optimove API in order to retrieve post-execution metrics per template or recipient, using the GetTemplateMetrics and GetUserMetrics API calls, respectively. Refer to the Optimove Developer Hub for details.
Tracking Performance for Transactional Emails
You can use Optimove's Campaign Deliverability BI report in order to monitor the performance of your transactional emails as well as gain valuable insights into the key factors that impact your sender reputation. For more on this report, visit this article.