Please note:
To unlock this capability, you will need to have added Location Targeting to your Optimove package. If you can’t see this feature in your Optimove instance, contact your CSM to find out more.
You can define Geofences to target installs within a specific area or within a certain radius of a fixed point on a map (e.g. within 1000m of a retail outlet running a promotion).
Defining Geofences
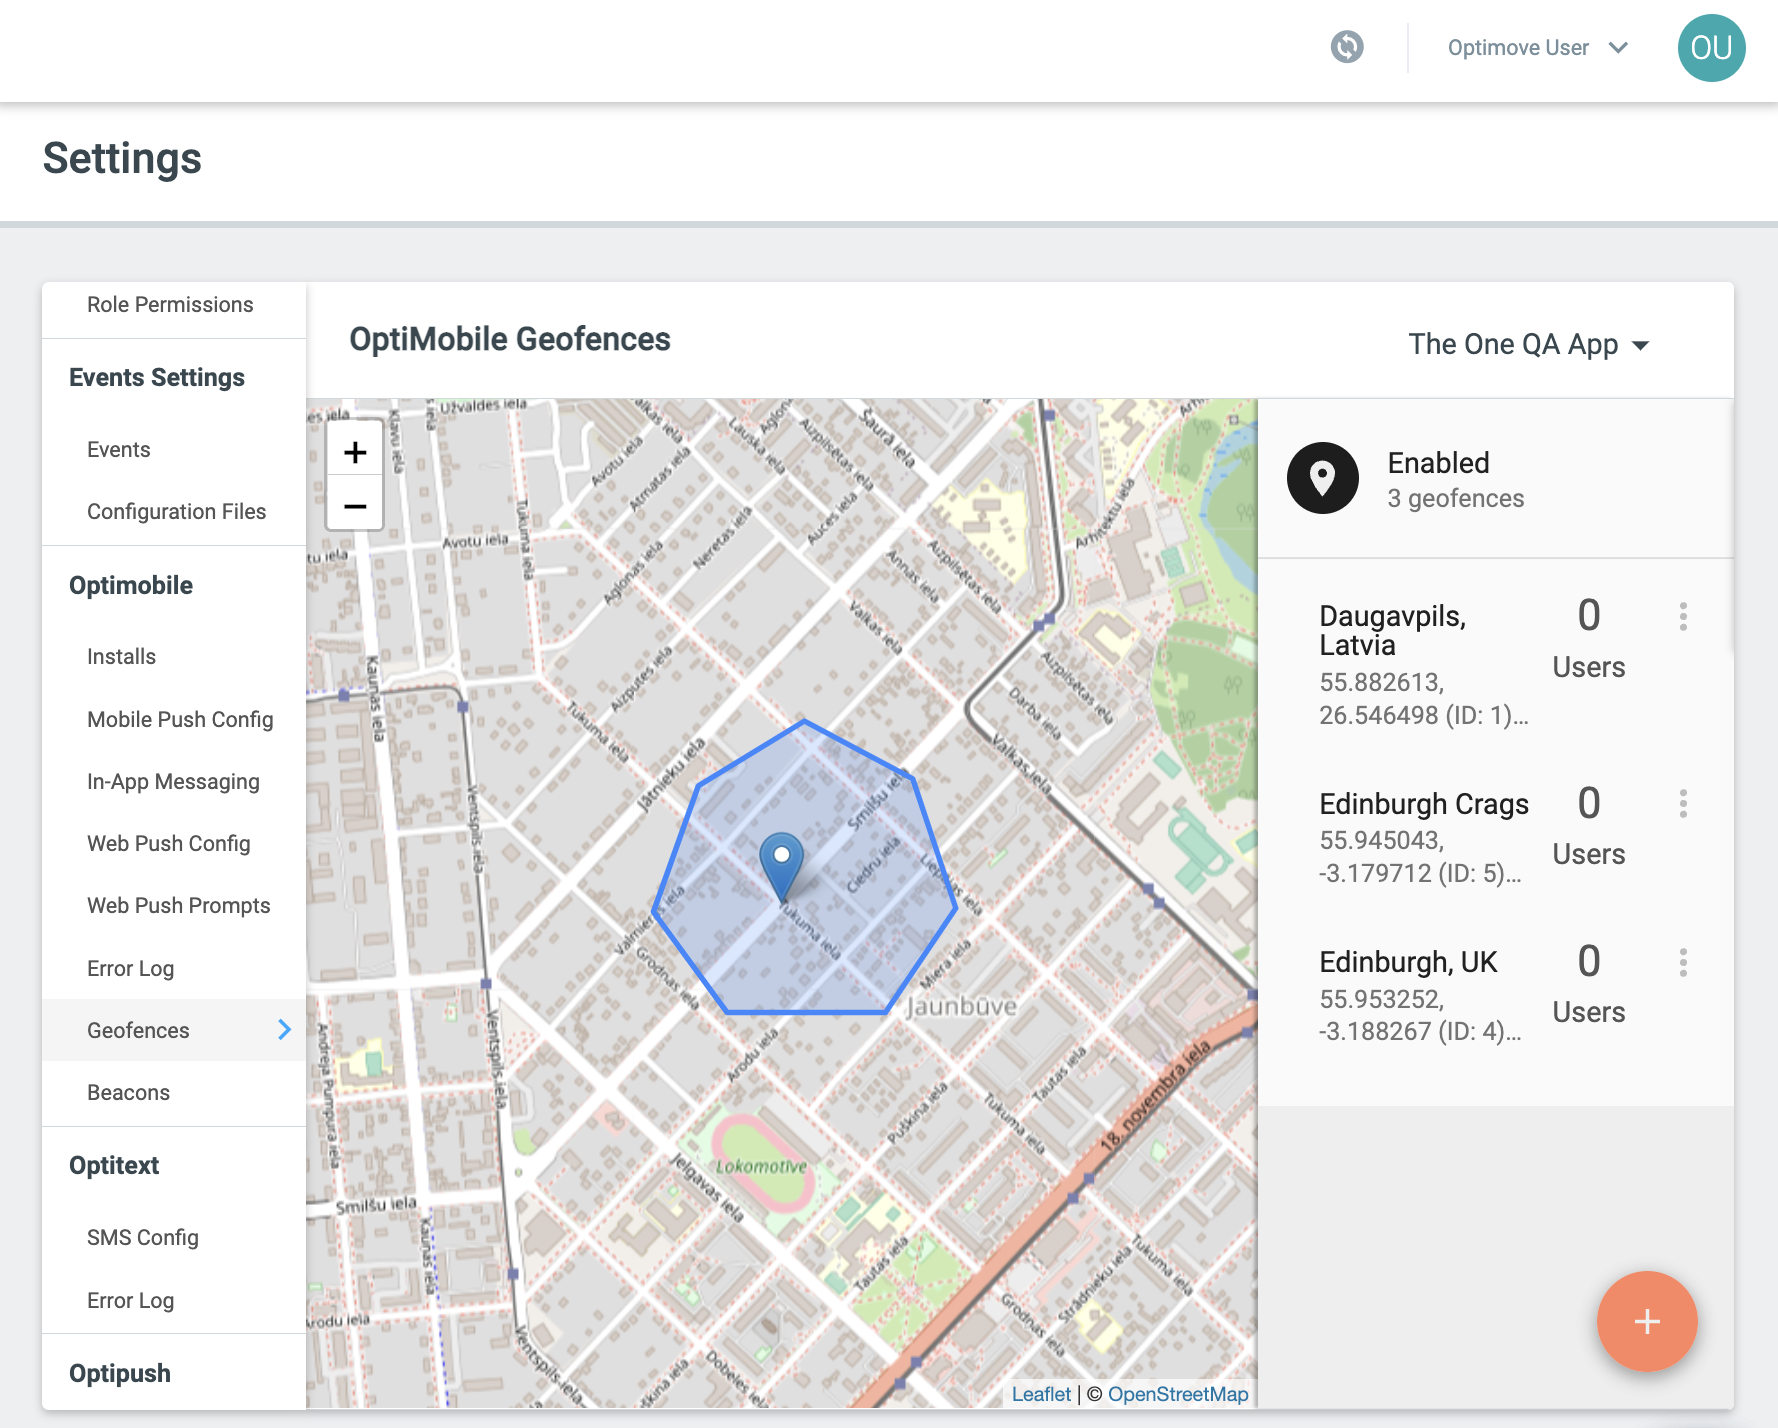
To add, edit and delete Geofences for an app, go to your Settings, find Geofences under your configuration options, and choose your app from the dropdown in the top right of your screen.
The map will automatically zoom to show all existing Geofences and how many users' last known location was in each geofence.
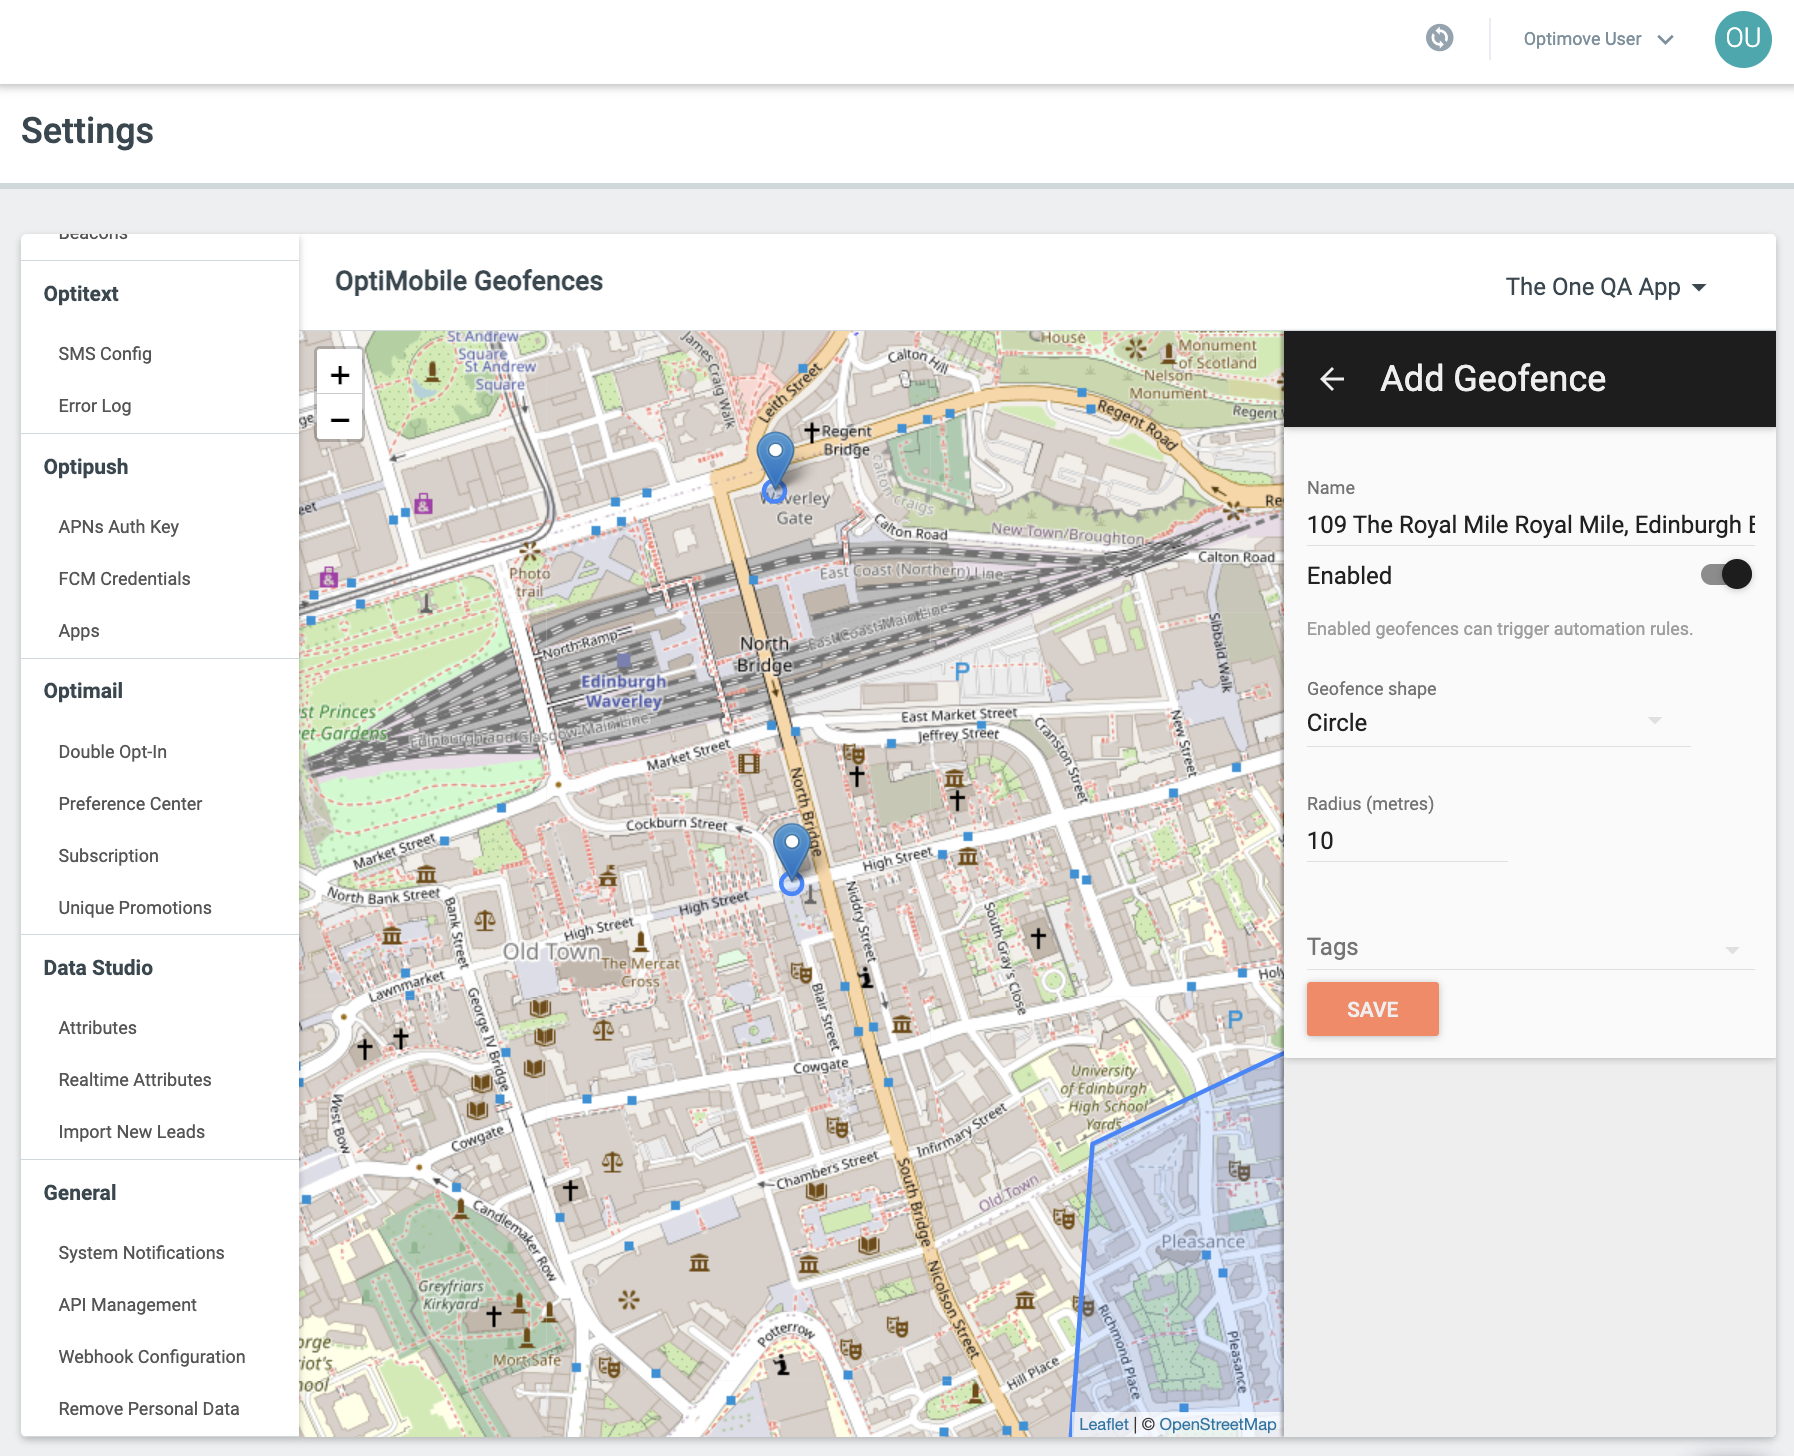
To add a geofence, click the primary action button. Type an address in the Search box. All matching results will be shown. Click on a result to drop a pin in the map at that location.
You can click the back arrow next to 'Add Geofence' to return to the search results. Once you have found the closest result, you can drag and drop the pin to fine-tune the exact location.
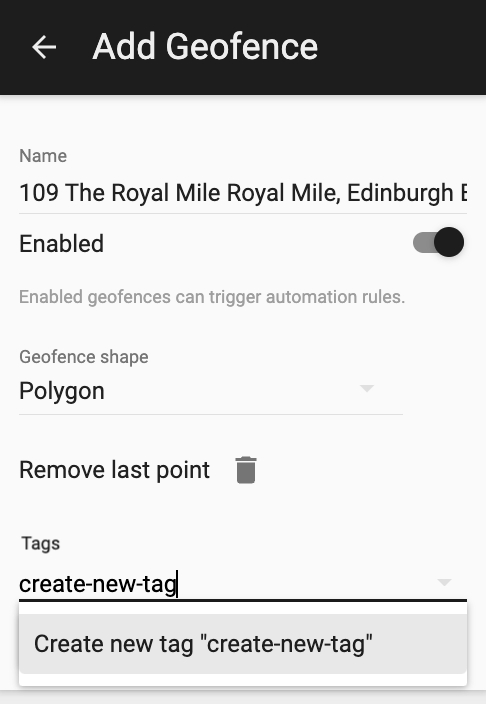
Give the Geofence a meaningful name (this will default to the address) and then choose the desired shape of the geofence.
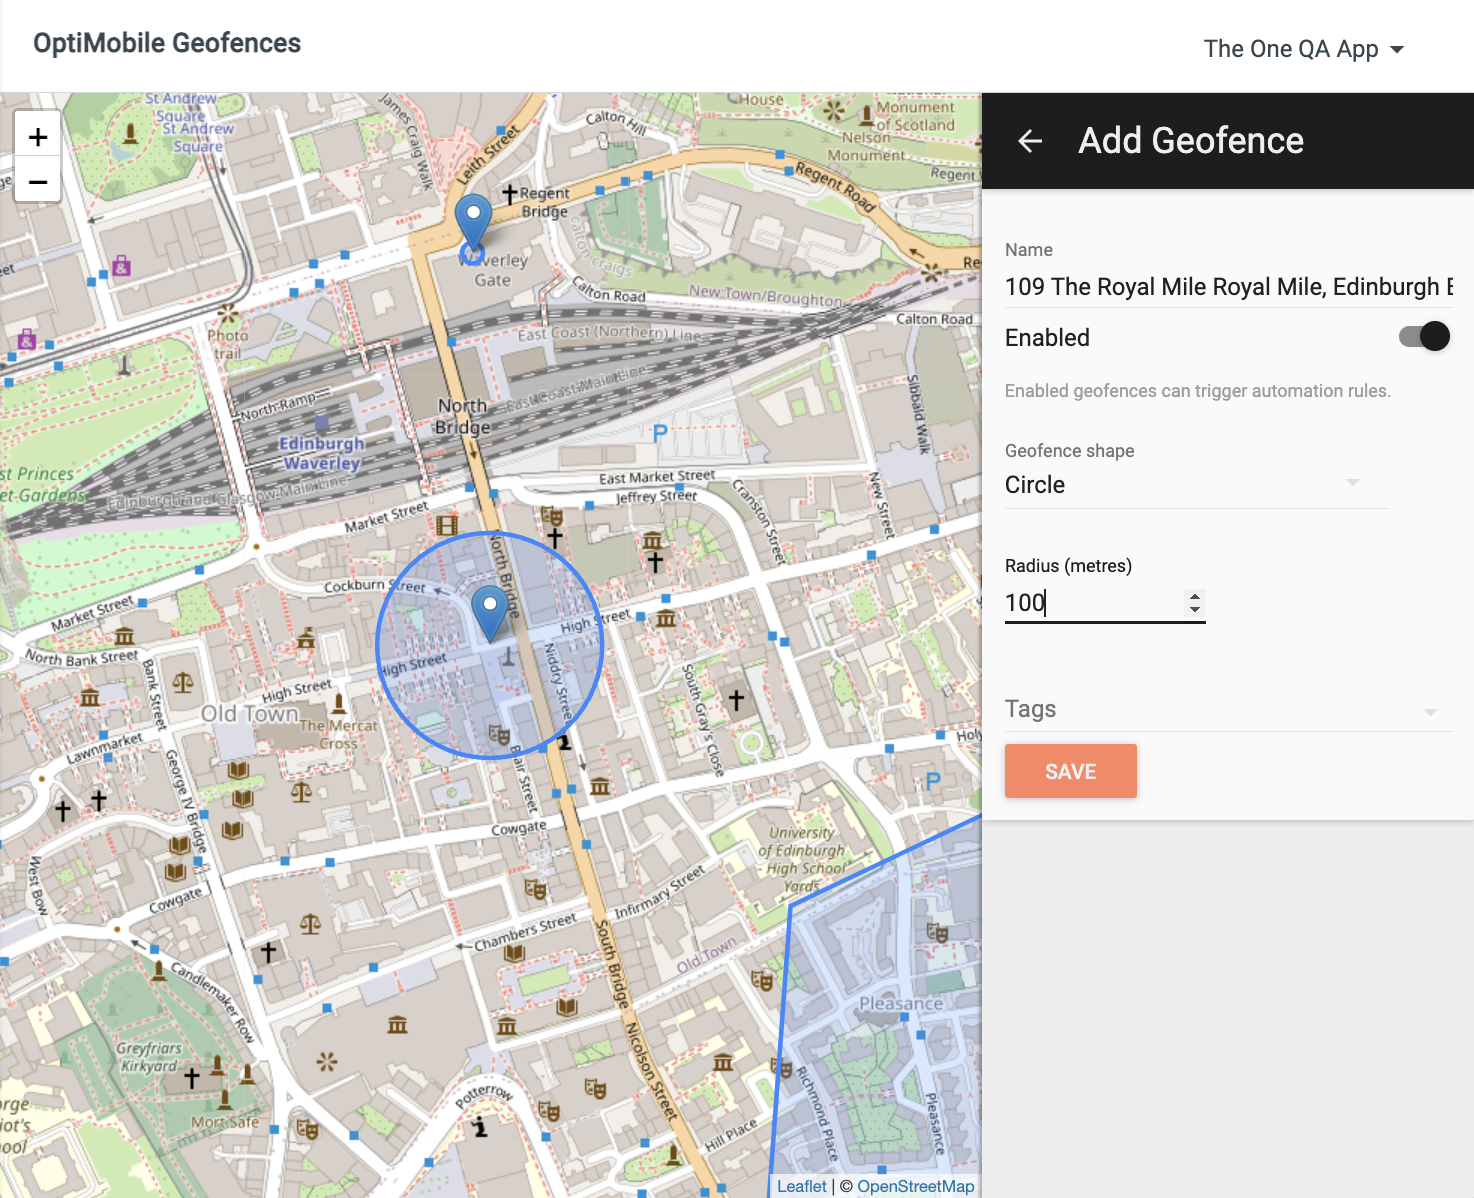
Circle
If you wish to target installs within a certain radius of the point on the map (e.g. within 1000m of a retail outlet that is running a promotion), choose 'Circle' and enter a radius in meters. The radius must be a minimum of 1 meter and a maximum of 10000 meters (i.e. 10 kilometers).
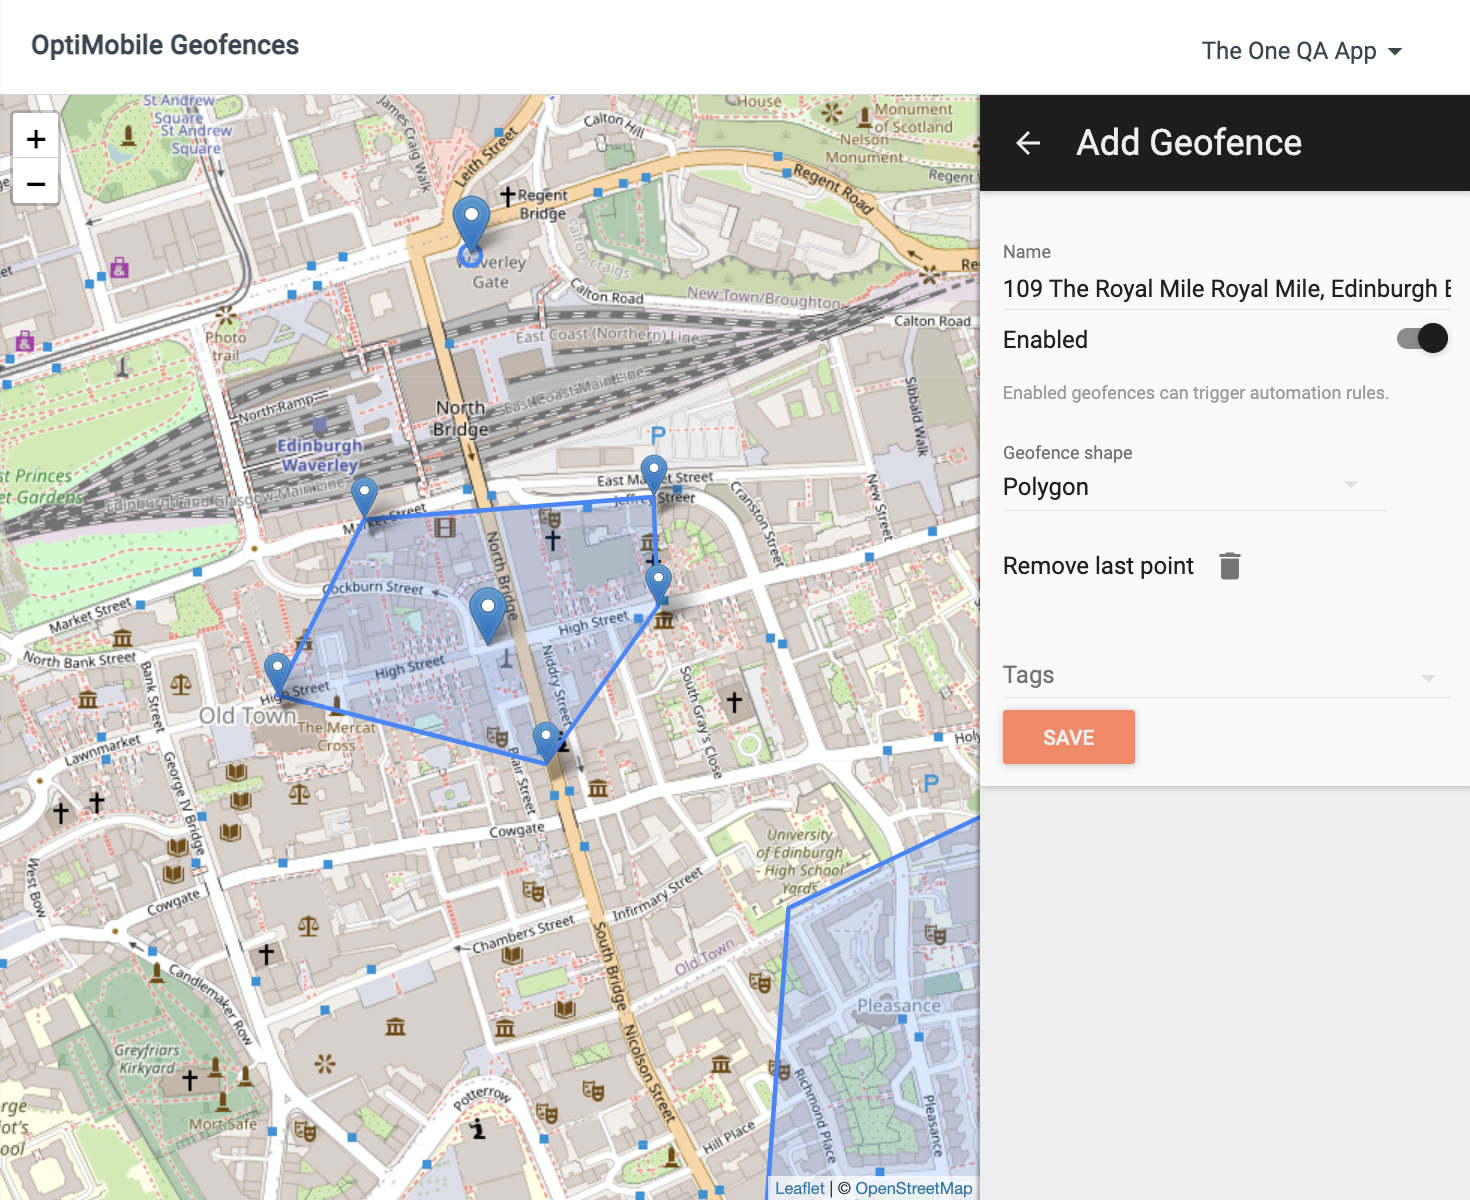
Polygon
Alternatively, if you wish to target installs within a specific area (e.g. a shopping mall), choose 'Polygon'. Click on the map to add points and draw your geofence.
Add as many points as are required to accurately define a geofence around a specific area.
It is easier to roughly draw the geofence around the area and then refine it, either by dragging the points or clicking either side of the lines of your geofence to add additional points.
If you make a mistake, click "Remove Last Point".
Tags
You can optionally add one tag to a geofence. This allows you to group geofences (and beacons) and use multiple geofences (and beacons) with the same tag as a trigger for real-time messages. To add a tag to a geofence, start typing in the tags field and either select a tag you have used before or create a new tag (which will then be available when adding or editing other geofences and beacons).
Click "Save" when ready to add the geofence.
Targeting Users with Geofences
Geofences can be combined with other attributes to create Target Groups when sending a push notification or in-app message. They can also be used to trigger a push notification when someone enters or exits a geofence.
To use Geofences as part of your targeting, go to a new or existing Target Group, and select Web & App Activity. From here, you can select either geofence_entered or geofence_exited, choose the geofence you are referring to, and select a time period you would like to check for this activity.
This target group can then be used to create and orchestrate campaigns across all of your available channels. To find out more about creating target groups,
learn more here.
Editing or Deleting Geofences
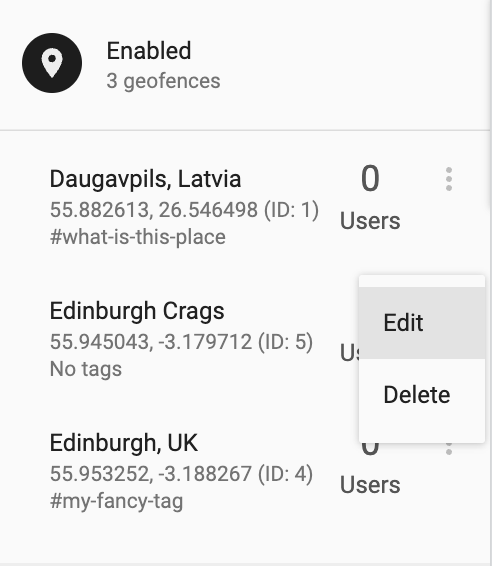
You can edit and delete a geofence by clicking on the three dots on the right-hand side of that geofence and selecting "Edit" or "Delete" as appropriate.
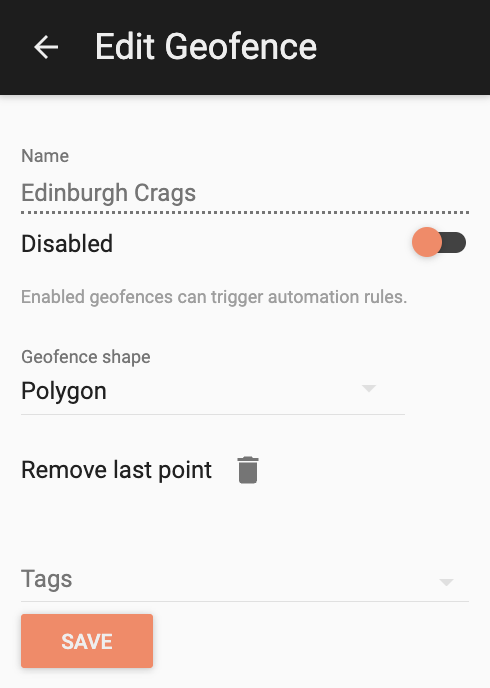
If you want to temporarily disable a Geofence, then click the context menu next to that geofence and select "Edit", toggle the "Enabled" switch to off, and click "Save".
This provides a very quick way to control which geofences can trigger real-time messages.