
Please note:
To unlock this capability, you will need to have added Location Targeting to your Optimove package. If you can’t see this feature in your Optimove instance, contact your CSM to find out more.
Geofences can be combined with other attributes to create Target Groups when sending a push notification or in-app message and they can also be used to trigger a push notification when someone enters or exits a geofence.
Targeting Customers with Geofences
Adding Customers to Target Groups
To use Geofences as part of your segmentation, go to a new or existing Target Group, and select Web & App Activity. From here, you can select either Geofence Entered or Geofence Exited, choose the geofence you are referring to by including attributes like Geofence Name or Tags and set a time period you would like to check for this activity.
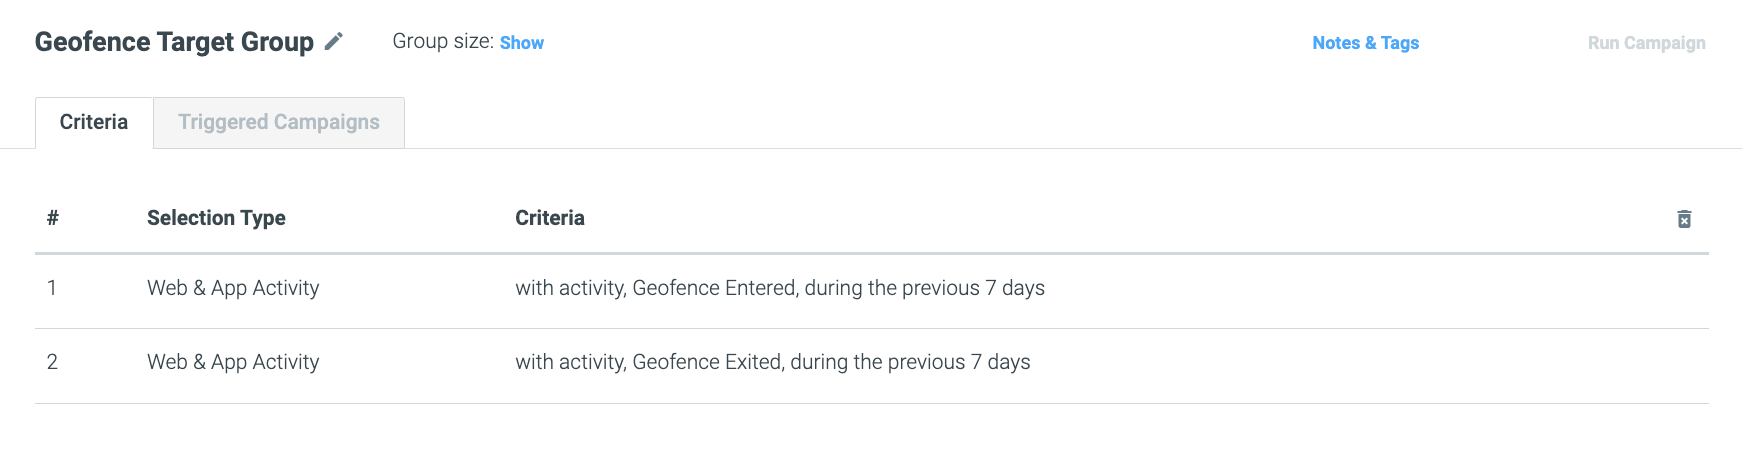
This target group can then be used to create and orchestrate campaigns across all of your available channels. To find out more about creating target groups, learn more here.
Creating Geofence Real-Time Triggers
In order to automate real-time campaigns using your pre-defined geofences, you need to create a Trigger that will activate when your customer either enters or exits a geofence.
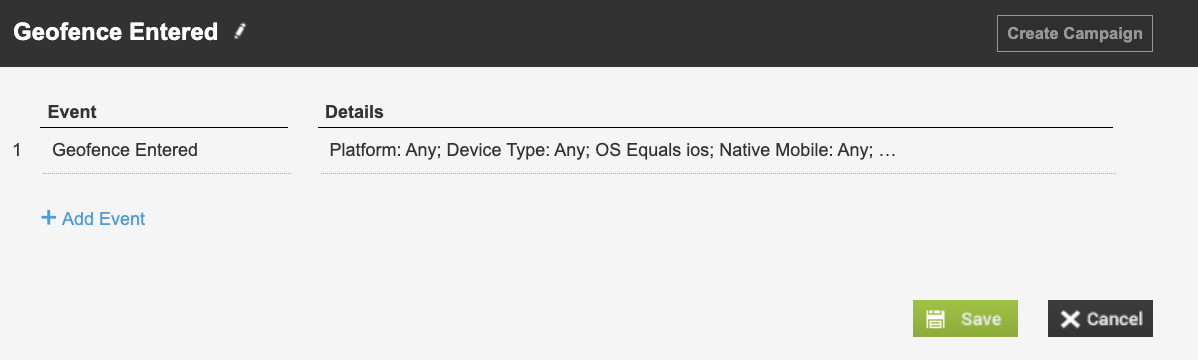
To create a Geofence Entered trigger, simply navigate to the Realtime Triggers area of your site and create a new Trigger. From here, select Geofence Entered from the Events dropdown and add any relevant fields like the Platform or OS you would like to target.
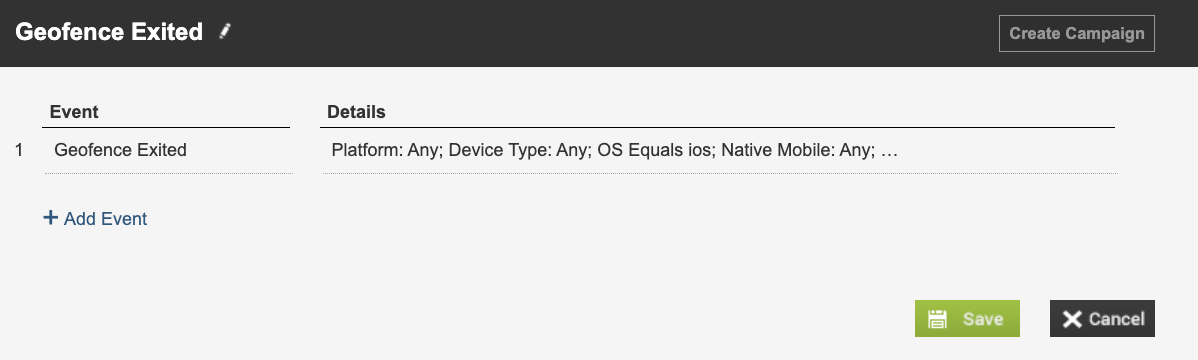
To create a Geofence Exited trigger, simply navigate to the Realtime Triggers area of your site and create a new Trigger. From here, select Geofence Exited from the Events dropdown and add any relevant fields like the Platform or OS you would like to target.
To create your campaign using the above triggers, read more here.
Targeting Customers with Beacons
Adding Customers to Target Groups
To use Beacons as part of your segmentation, go to a new or existing Target Group, and select Web & App Activity. From here, select Beacon in Proximity, choose the Beacon you are referring to by including attributes like Beacon Name or Tags, and set a time period you would like to check for this activity.

This target group can then be used to create and orchestrate campaigns across all of your available channels. To find out more about creating target groups, learn more here.
Creating Beacon Real-Time Triggers
In order to automate real-time campaigns using your in-store beacons, you need to create a Trigger that will activate when your customer comes into proximity of a physical beacon that you have registered.
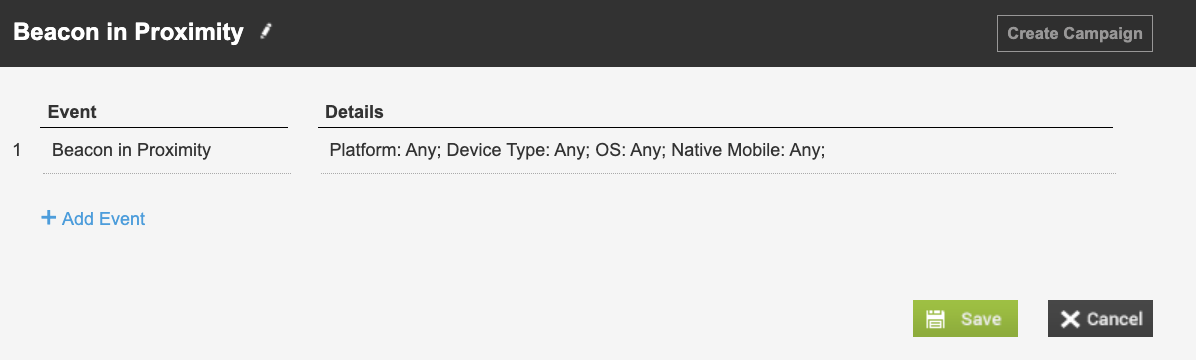
To create a Beacon in Proximity trigger, simply navigate to the Realtime Triggers area of your site and create a new Trigger. From here, select Beacon in Proximity from the Events dropdown and add any relevant fields like the Platform or OS you would like to target.
To create your campaign using the above triggers, read more here.
Please note:
To trigger campaigns in real-time using either geofences or beacons, you will need to have Track and Trigger enabled for your mobile app. If you would like to learn more, please reach out to your CSM.