
If you are using the HTML Editor, it is recommended to prepare your HTML templates (and, optionally, any accompanying images) in advance, and then import them into OptiMail.
There are several steps to take before uploading your template, such as handling your image files and activating click tracking.
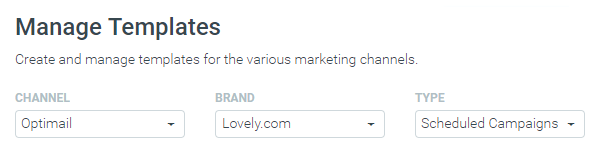
In order to build your email template using the HTML editor, go to the Manage Templates tab in Optimove (under the One-to-One Campaigns menu) and select OptiMil from the Channel dropdown.
If you have more than one OptiMail account (as is common when managing multiple brands within a single Optimove instance), you will see a list of available accounts under the Brand dropdown. Select the account you want to use.
If you have a few template types (scheduled, triggered, transactional) select the type of template you wish to use from the Type drop-down menu.
In this example, we use the Scheduled Campaigns template type.
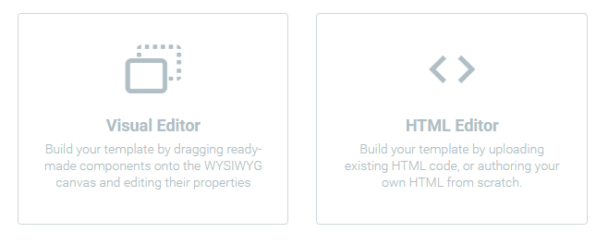
Select the HTML Editor:
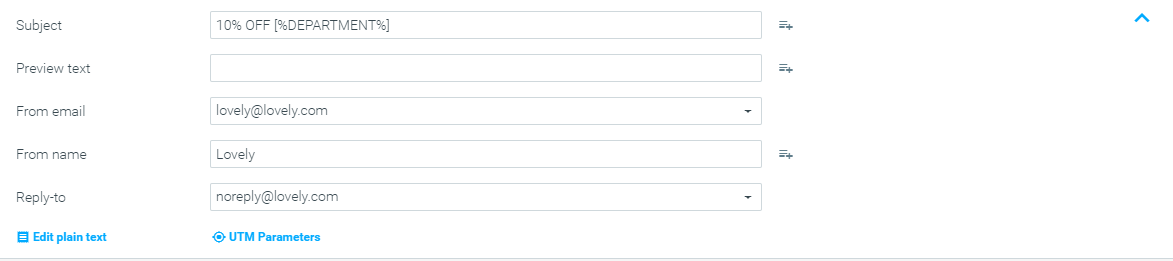
Enter a name for the template and enter an email subject line for the template. In order to include personalization tags in your subject line, click the Advanced Subject Line button.

Select a “From email” from one of the predefined options, a “From name” value and a “Reply-to” email address.
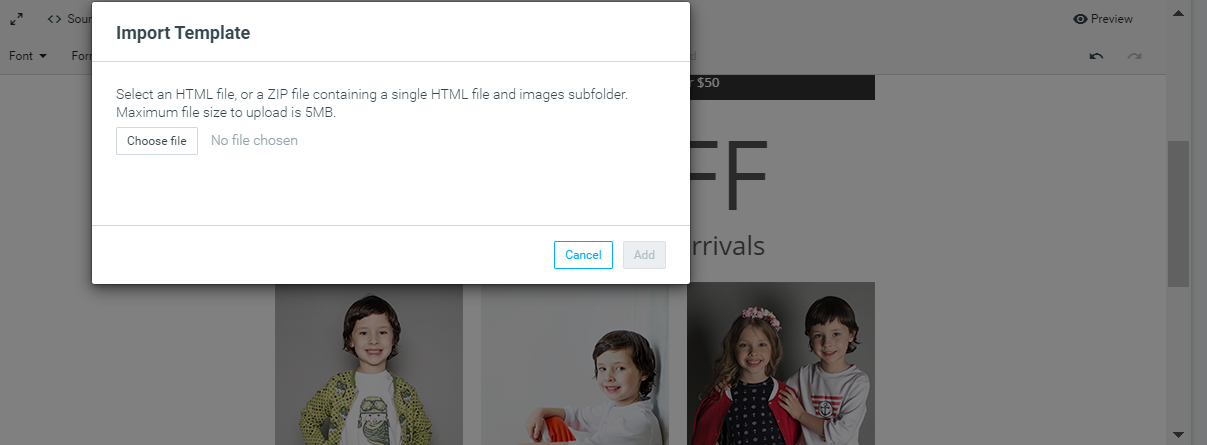
Import HTML or ZIP file
Click Import and select the HTML file or ZIP file you prepared (as explained above).
Every email template (regardless of editor type) must contain a link for the recipient to unsubscribe.
The imported HTML may already contain this link (<a href=”[%UNSUB%]”>…</a>) or you can enter it here yourself (adding a [%UNSUB%] link manually, or by selecting one of the predefined unsubscribe links from the Unsubscribe drop-down list).
Read more about managing unsubscribes here.
If such a link is not included in the template, the system will add a default unsubscribe message and link when sending the email. Therefore, it is recommended that you insert the link yourself, to have maximum control over the appearance of your customer emails.
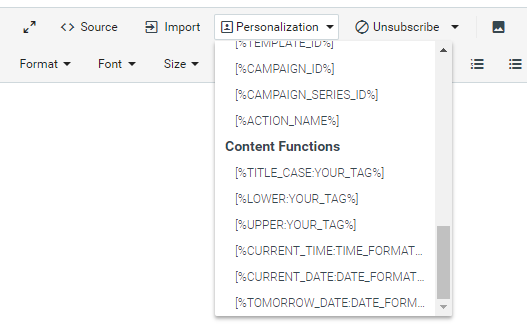
Make any desired changes to the body of the email using the editor. This includes the addition of any personalization tags using the Personalization drop-down list.
To add additional personalization tags to your drop-down list, contact your Customer Success Manager.
Including Images
- For an HTML template that references images that are already available at Web URLs, you may skip this section.
- For HTML templates that have accompanying image files, you must prepare a ZIP file in the following format:
- A single HTML file in the root of the ZIP file (any filename is acceptable, but it should have the .html suffix).
- A single folder in the root of the ZIP file named “images” which includes all image files referenced by the HTML file (any number of images may be included).
- The ZIP file can be named whatever you like. The ZIP file may not exceed 5MB in size.
- Every <img> tag in the HTML file that references an image being ZIPped with the HTML file must use the relative “src” path of “images/” (example: <img src=”images/logo.png”>).
- Embedded or referenced images may not exceed 5MB in size.
- All embedded images (and other elements in your HTML template) must reference the domain selected for your OptiMail account. This limitation exists because embedding elements hosted by external domains can adversely affect the reputation of your domain and/or email server IP address. Hyperlinks to external websites are usually acceptable.
Editing Plain Text
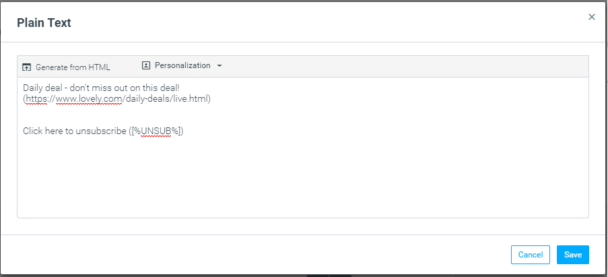
A plain text version is automatically generated for each template. In order to edit the plain text version, click Edit Plain Text in the top section of the template editor.
In the plain text dialog, you can edit the text manually or click Generate from HTML to regenerate the text from the latest HTML version.
Validating your Template
Click Validate to make sure that all personalization and unsubscribe tags are valid. You will not be able to save your template unless all of your tags are valid.

Tracking Opens
OptiMail tracks email opens using the open pixel. By default, the OPEN_TRACKING_PIXEL is added to the bottom of the template, but it is also available as a personalization tag that you can place somewhere else (if not placed, it will be automatically added at the bottom of every template).
If you would like to customize where in the template the open tracking pixel will be placed, add the “OPEN_TRACKING_PIXEL” personalization tag to the template – thus, avoiding rare cases in which the pixel is truncated by the inbox provider.
Tracking Clicks
Tracking clicks on hyperlinks in emails is enabled by default in OptiMail. This means that when a template is sent to campaign recipients, all links are replaced with an auto-generated version of the link that enables OptiMail to track every time a recipient clicks a link. You can disable tracking for specific links by including the ‘clicktracking=off ‘ attribute in the link tag. You can do this for Apple Universal Links or for any other reason.
For example, this link would not be tracked: <a clicktracking=off href=”https://example.com”>link text</a>.
If a template was updated before the batch-data process started, will it be sent after the process with the updated data?
Yes! As long as the campaign has not been processed yet, you can update its template.